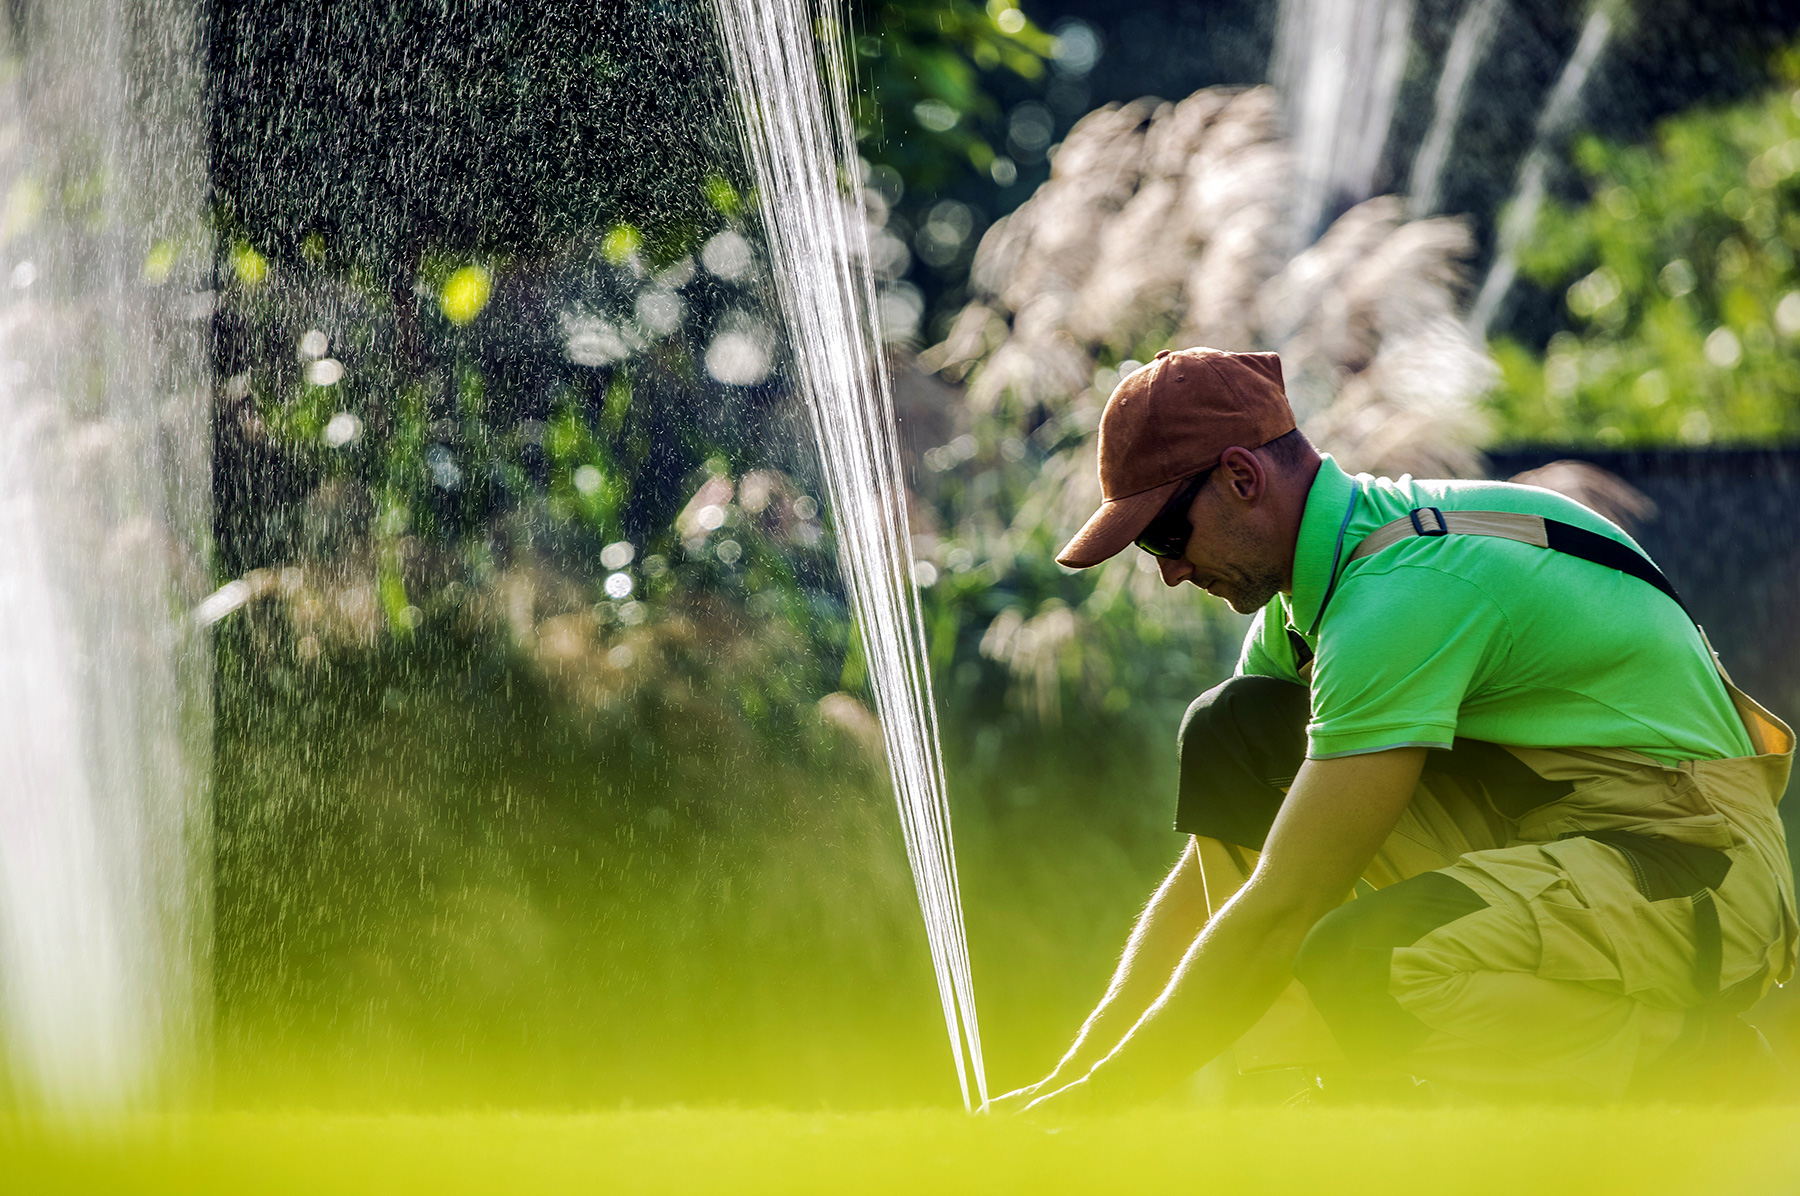
Hire a Professional to Winterize your Sprinkler System
A trained professional will be able to drain all the water from your system using a winterization blow out method – air compressor. This method ensures that you will not have any extra water in the irrigation lines, valves, and sprinkler heads that can freeze resulting in breaks and damage to your system.
Generally, there are two types of systems: one that is automatically controlled with a clock and one that is controlled manually at each valve. I will explain both winterization methods.
Caution: If you attempt this on your own, wear protective eye protection and never stand over irrigation pipes, sprinklers, or valves during this process. The manual drain valve or drain cap is pressurized and can cause injury if opened before the pressure is relieved.
For the automatic system, the technician will:
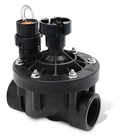
- Close the mainline shutoff valve.
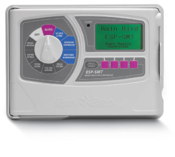
- Activate a zone furthest from the air connection using the controller. This will relieve the water pressure on the mainline. (Always keep a zone valve open from the ESP SMT controller resized 600time he/she starts the compressor to shut down.)
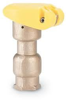
- Attach the compressor hose to the quick coupler valve using the quick coupler key.
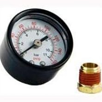
- Set the pressure regulating valve on the compressor to 50 psi.
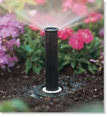
- Turn on the compressor, gradually increasing the airflow until all the sprinkler heads pop up in that zone (be sure not to go over 2 min per zone.)
- Switch to the next zone using the controller (never turn off the controller during the process). Repeat until all zones have been blown out.
- Repeat the cycle two or more times activating each zone until only a fine mist emerges from the heads.
- Once he/she is done blowing out all zones, the technician will leave one zone on while turning off the compressor.
- Unhook the compressor from the mainline and turn the controller to the OFF position.
For the manual system, the technician will:
- Close the mainline shutoff valve.
- Open the manual shutoff handle on one of the irrigation zone control valves to relieve the water pressure on the mainline (Always keep a zone valve open from the time the compressor starts to shut down.)
- Attach the compressor hose to the quick coupler valve using the quick coupler key.
- Set the pressure regulating valve on the compressor to 50 psi.
- Turn on the compressor, gradually increasing the airflow until all the sprinkler heads pop up in that zone (be sure not to go over 2 min per zone.)
- Open the next control valve to winterize before turning off the control valve you just blew out. Repeat until all zones have been blown out.
- Repeat the cycle two or more times activating each zone until only a Sprinklerfine mist emerges from the heads.
- Once he/she is done blowing out all zones, the technician will turn off compressor to allow any air in irrigation components to disperse before disconnecting the air hose or valves.
- Unhook the compressor from the mainline.